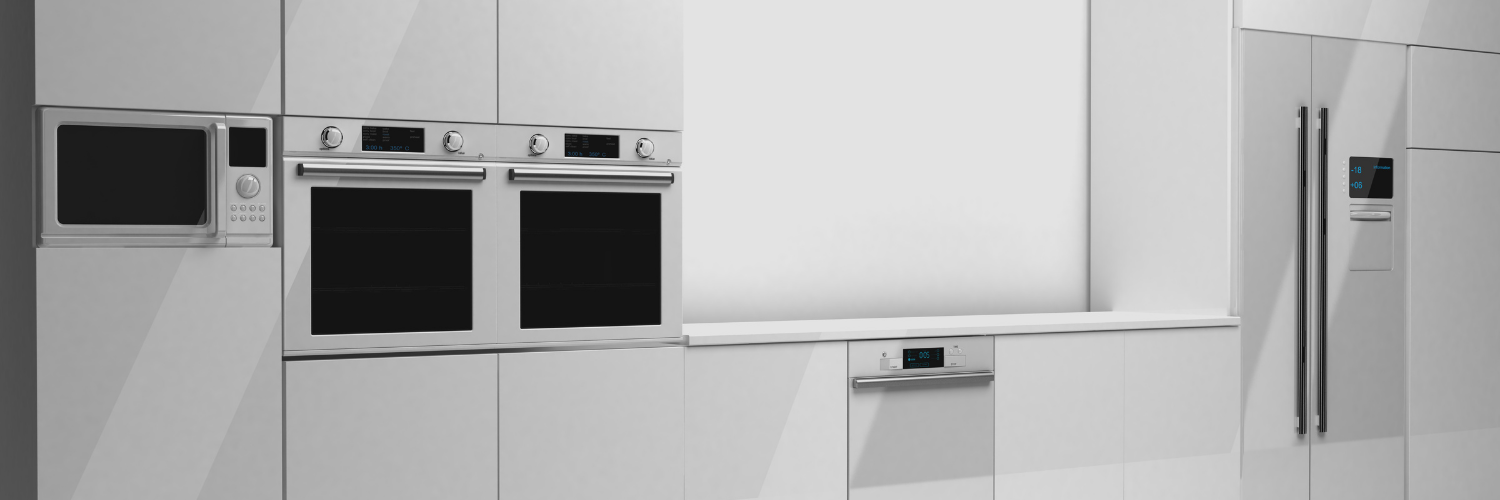
5 Common Reasons Your LG Refrigerator Is Not Staying Cold
LG Refrigerator Not Cooling
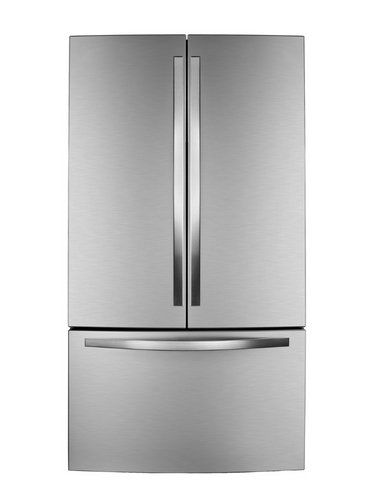
LG Refrigerator Not Cooling
If you've noticed that your LG refrigerator is not cooling, there could be a number of reasons why. But don't worry! We're here to help you troubleshoot the issue. Before calling for professional service, check out these five common causes of your fridge not cooling.
LG Fridge Not Getting Cold
#1 - The Temperature Settings Are Too High
The first thing to check when your LG refrigerator is not cooling is the temperature settings. Make sure that the temperature setting isn’t too high and that it is set to the optimal temperature for both the freezer and refrigerator sections. Most experts recommend keeping it at 0°F for the freezer and 37°F for the refrigerator section.
LG Refrigerator Quit Cooling
#2 - Blockage in Vents or Condenser Coils
Another reason why your LG refrigerator might not be cooling properly could be because of blockages in either the vents or condenser coils. To fix this issue, make sure to clean any dust or debris that may have collected on either part of your fridge and unblock them if needed.
LG Refrigerator Will Not Cool
#3 - Defective Evaporator Fan Motor
If cleaning out the vents and condenser coils does not solve the problem, check if there are any loose parts in or around the evaporator fan motor as this could also cause problems with cooling efficiency. If something looks off and you can't identify it, contact a certified technician to look into it further.
LG Fridge Freezer Not Working
#4 - Malfunctioning Compressor
If everything else seems normal but your LG refrigerator's still not cooling, then it may be due to a malfunctioning compressor or refrigerant leak. This can happen when there are issues with components such as valves, seals, bearings, wiring connections or overloads within the compressor itself which all need to be inspected by a professional to determine where exactly in the system needs repair work done.
LG Fridge Not Cooling but Running
#5 - Faulty Thermostat
Finally, if all else fails, then chances are you may have a faulty thermostat issue on your hands which needs replacing as soon as possible in order to restore proper functioning of your fridge again. Be sure to call a licensed technician specializing in LG refrigerators so they can accurately diagnose and replace any faulty parts with brand new ones quickly and safely before any further damage occurs!
Conclusion:
No one wants their food going bad because their fridge isn't working properly! Fortunately, there are some DIY solutions you can try before calling for professional service if you ever find yourself dealing with an LG refrigerator that won't cool down properly. From checking temperature settings to cleaning out vents & coil blocks all the way up until diagnosing faulty thermostats- following these steps should help get back on track with fresh food again soon!
You might also like